
I know your girlfriend is cool, but Firebase Hosting is cooler since you can use it for free. 😂
Don’t have a girlfriend? Go to any nearest black hole to find one. 👭 😂
And you can host your static website on the ultra-high-speed hosting developed by Google.
Mainly, Firebase is used in Android development for various means, but we’ll utilize the service for hosting our static website. Creative? Maybe.
But, first, let’s talk about Firebase Hosting (skip if you already know).
Quick Jumps
What is Firebase Hosting and What Makes It Unique?
Firebase hosting service is a dynamic and static web hosting service that is fast, secure and reliable. The big G calls it production-grade web content hosting for developers.
Moreover, files are deployed on SSDs and CDN edge servers around the globe. It supports hosting files like (javascript, HTML, CSS, etc), also supported through Cloud Functions.
Curious to know what other 19 services provided by Firebase?
How to Upload a Static Website to Firebase Hosting (Step by Step)
Bear in mind you need to take some steps that you haven’t taken in your life.
It may seem scary 😱, but in the end, once you deploy your static website successfully, you’ll be the happiest person. 😃
Step 1 – Sign Up To Firebase
The first thing you need to do is signup for a free account at https://firebase.google.com/ which is obvious.
How can you eat pizza without putting it inside of your mouth?
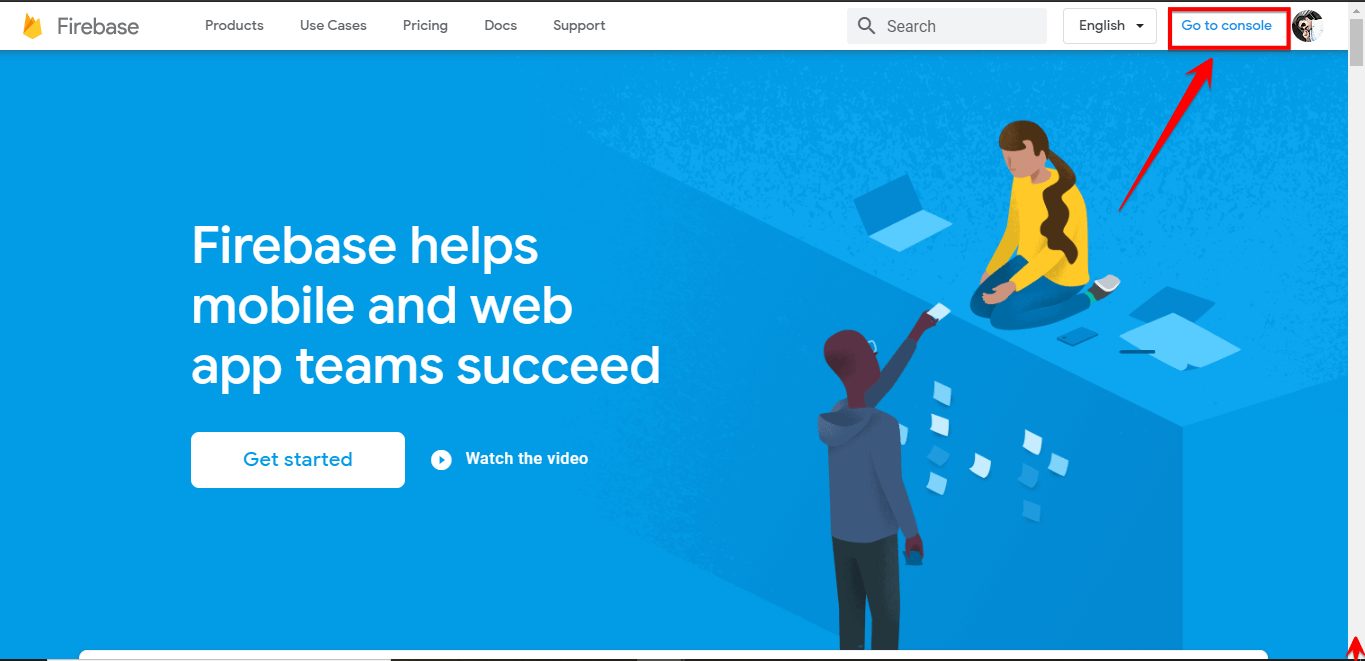
Once done, click Go to Console, for that you need a Google account.
Don’t have a Google account? Then sorry, you’re a baby who accidentally came across the article. 👶
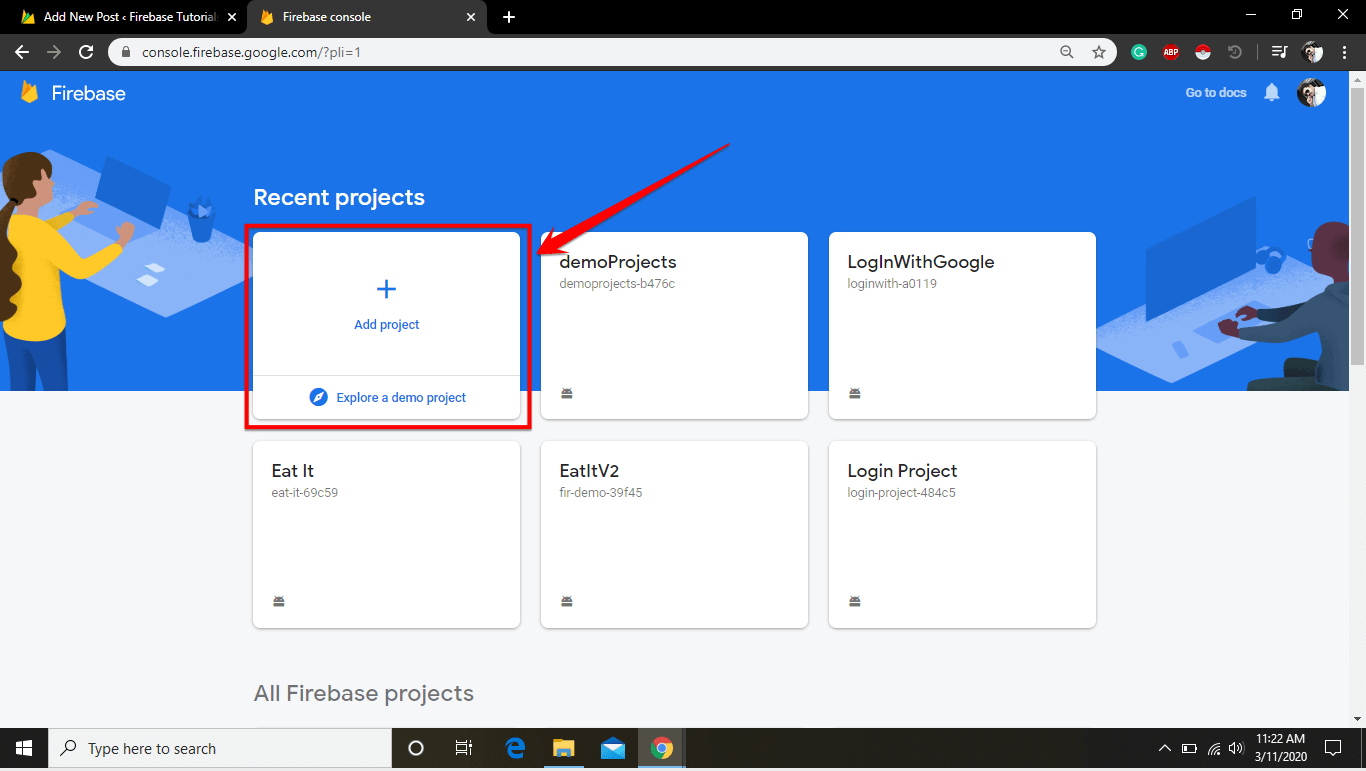
Step 2 – Create a New Project.
Creating a project is critical since you can save your data. Follow the tiny baby steps. 👣
- Click Add project.
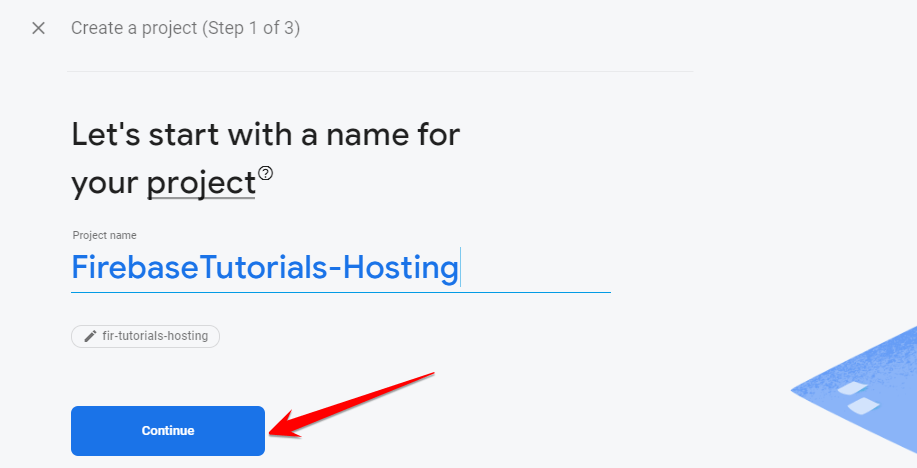
- Enter your Project Name and click Continue.
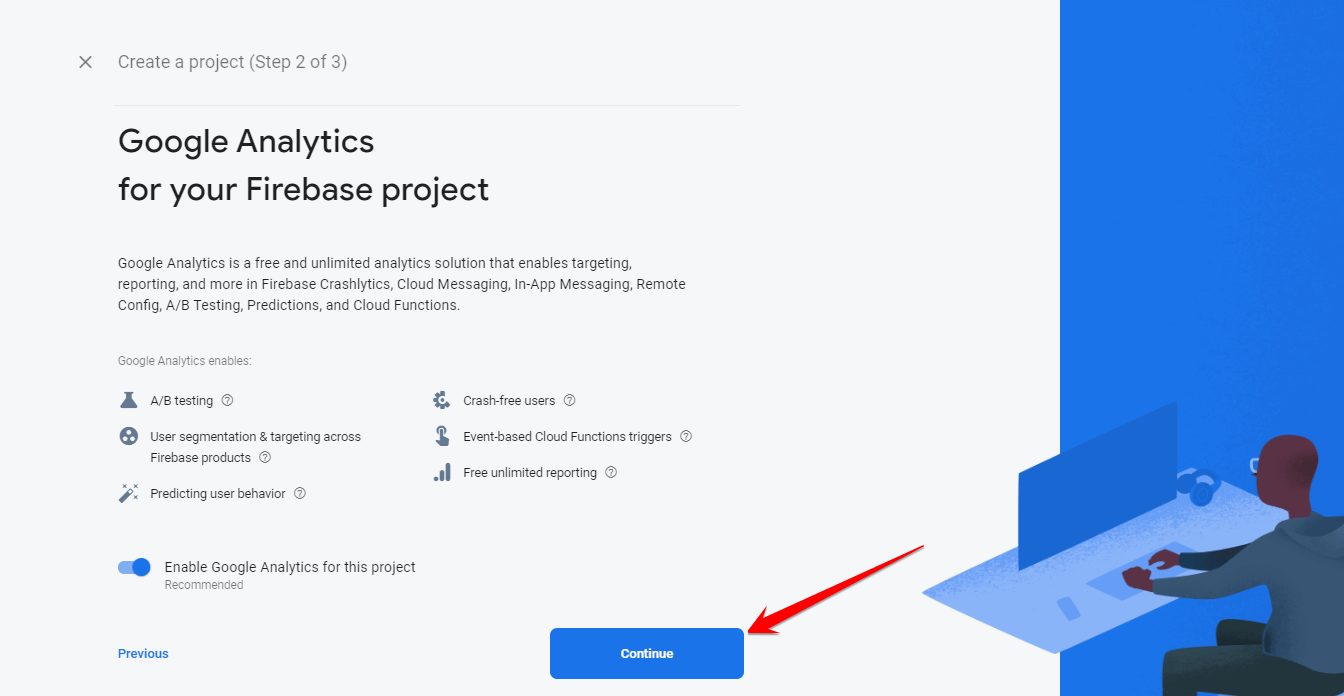
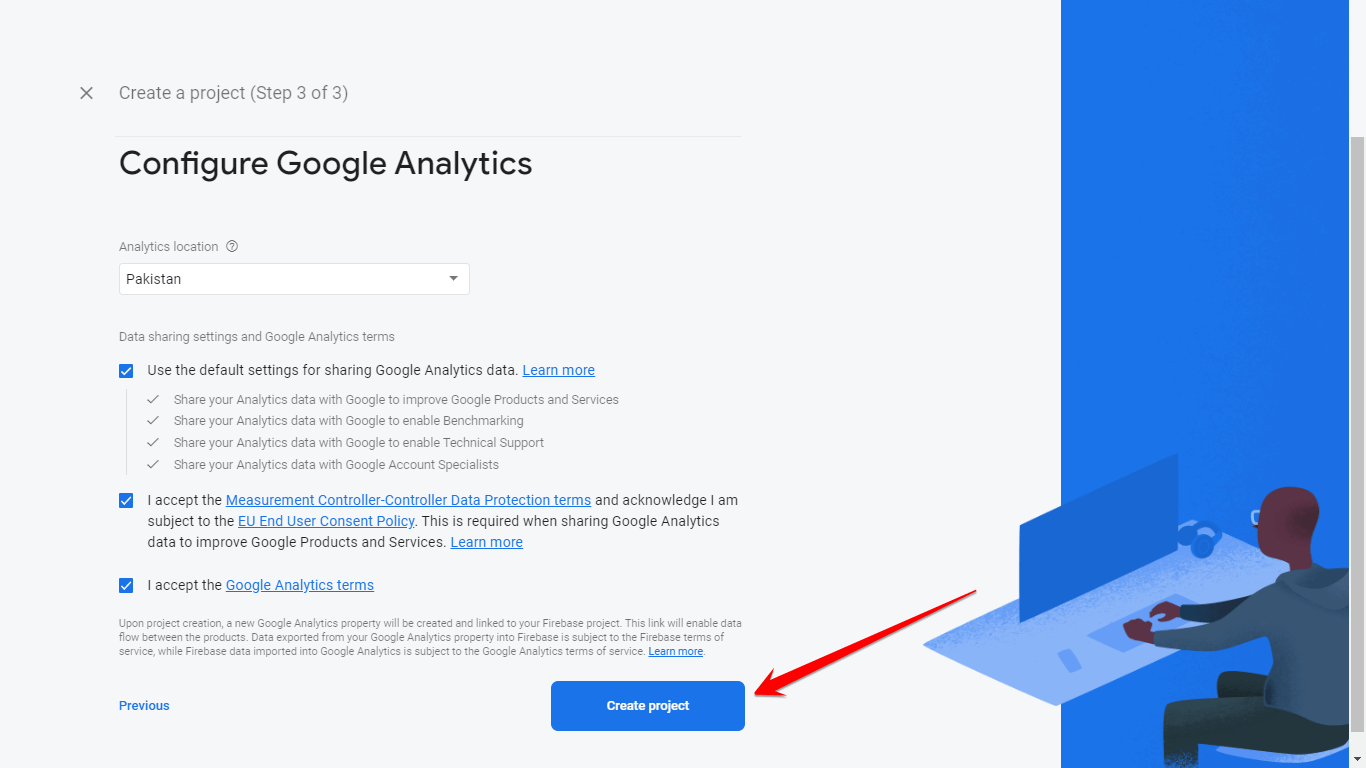
- Add Google Analytics for your Firebase Project and click Continue. Wait, but what is Google Analytics? In simple words, it’s a free tool that can help you how many visitors your website gets in a period of time that can last from one day to a decade.
- Select Analytics Location & Accept Terms checkboxes and click on Create Project.
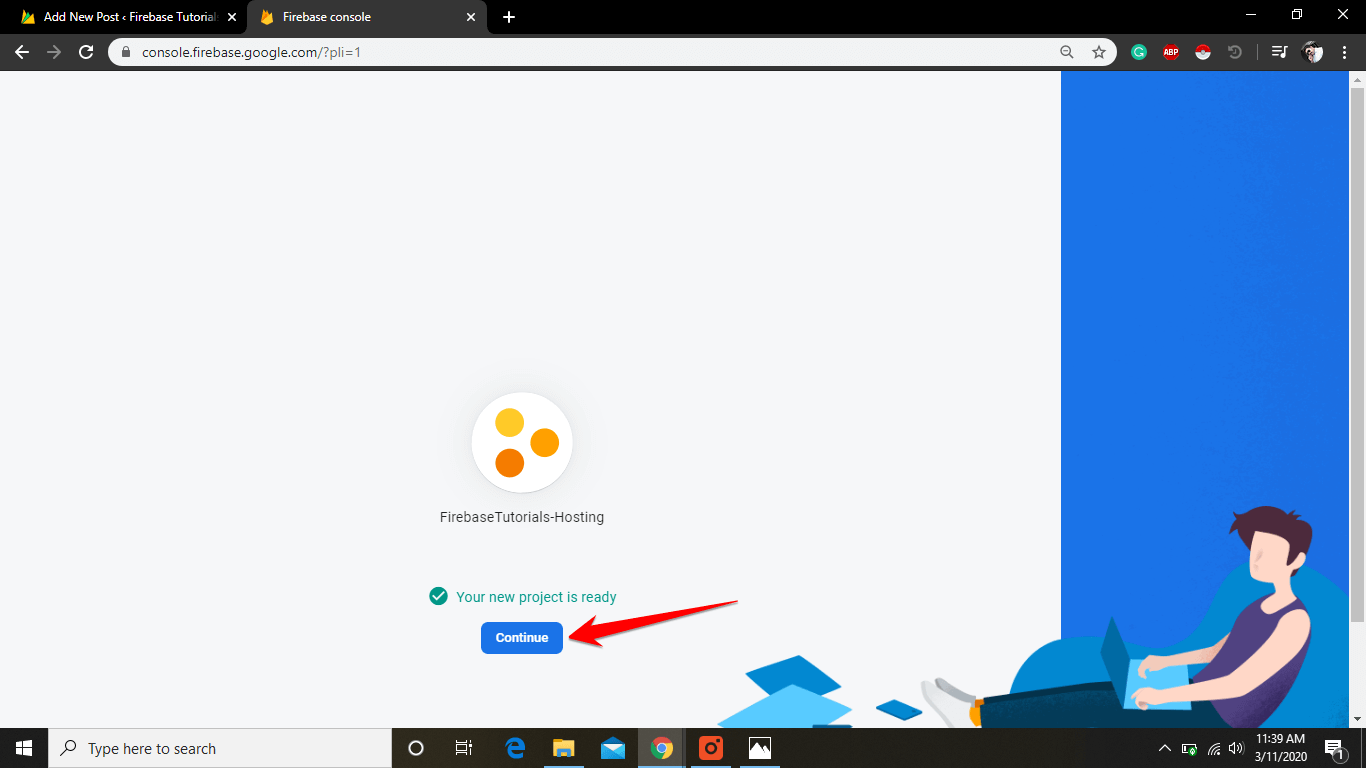
This will take a few seconds, during this period call your cat and tell her to sing a song for you (imagine even if you don’t have one). 😺
After that, a message appears your project is ready and hit Continue.
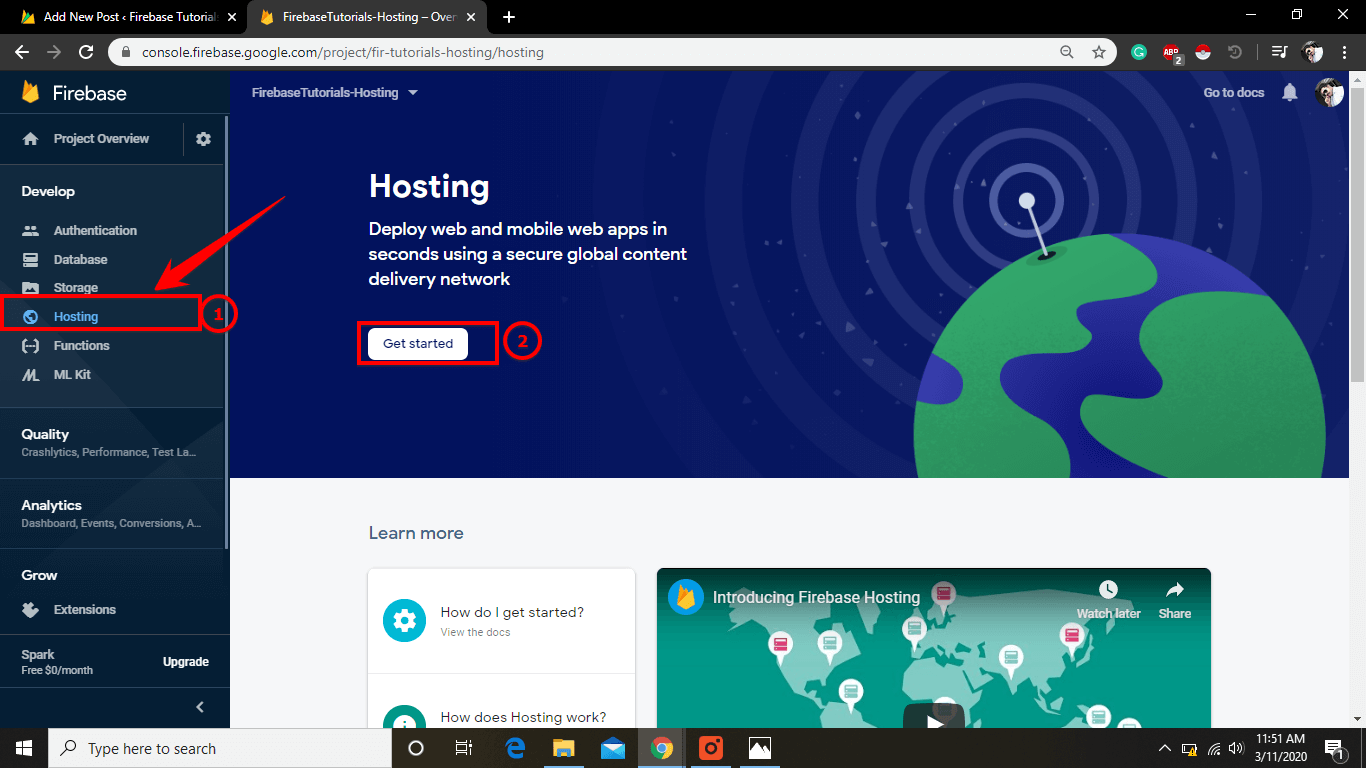
Step 3 – Set Up Firebase Hosting
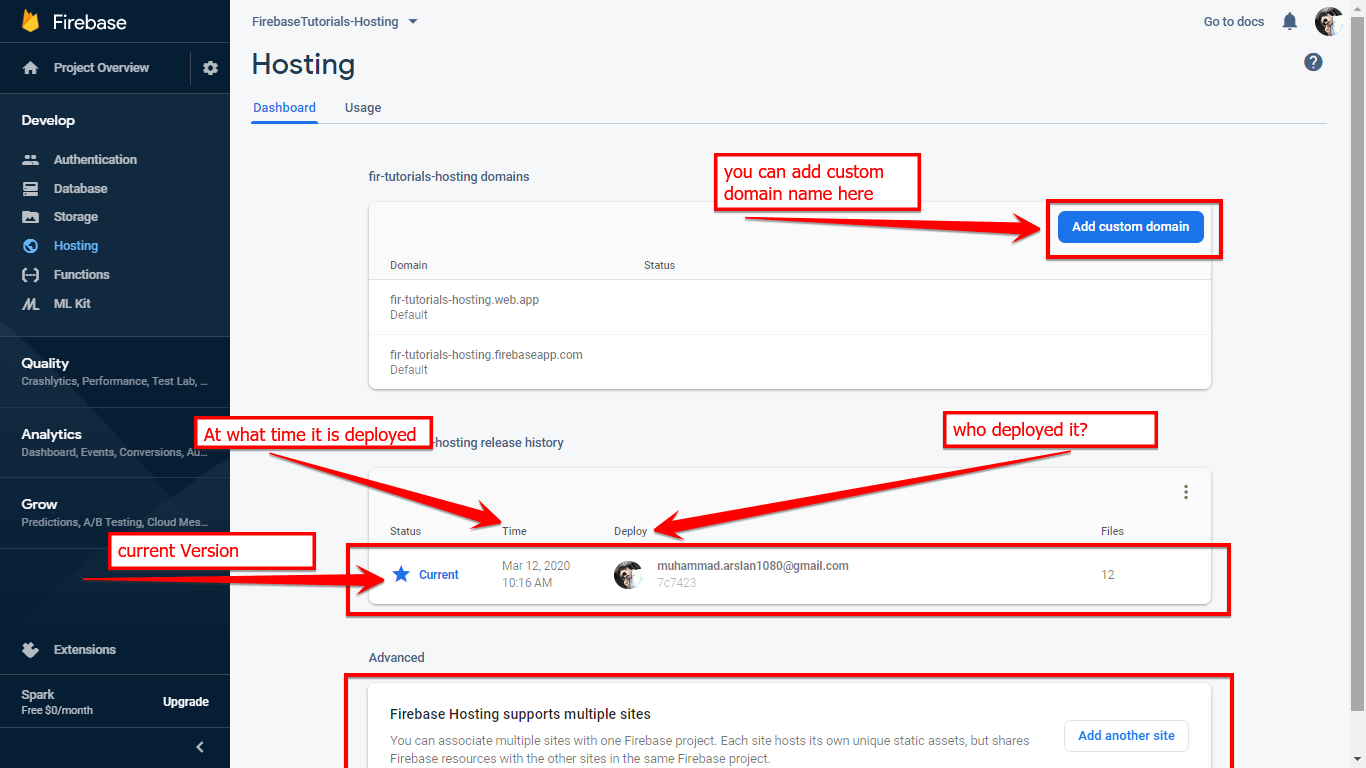
Click Hosting that comes under the Develop section on the left side of the screen as shown in the screenshot.
Once you reach there, hit Get Started.
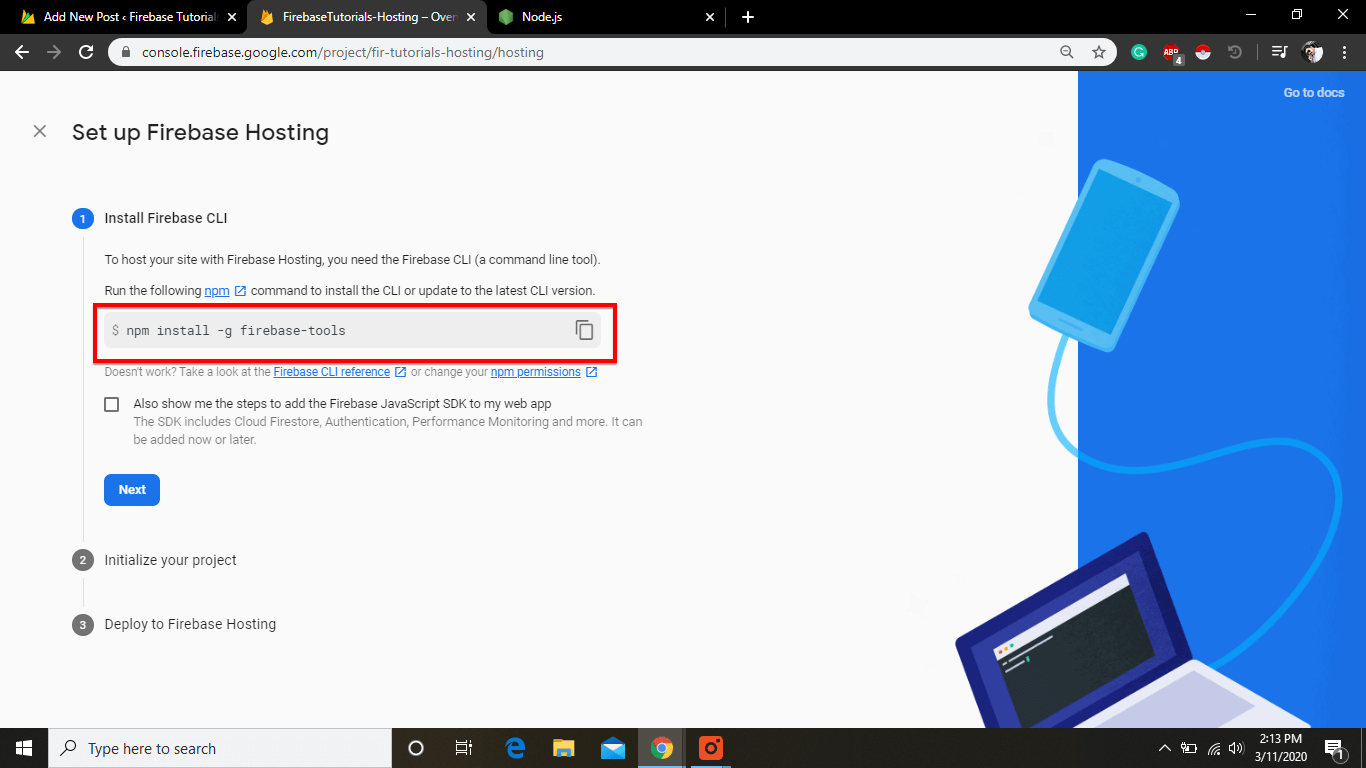
(i) Install Firebase CLI
Now you can see in the image you need FirebaseTools installed on your computer. This is a Firebase CLI.
But what is Firebase CLI? The Firebase CLI is a utility used to administer Firebase projects and perform tasks such as Realtime Database management tasks from the command-line of a terminal.
Now to do that you use NPM (Node package manager).
In simple words, you need NodeJS and NPM that should be installed on your computer.
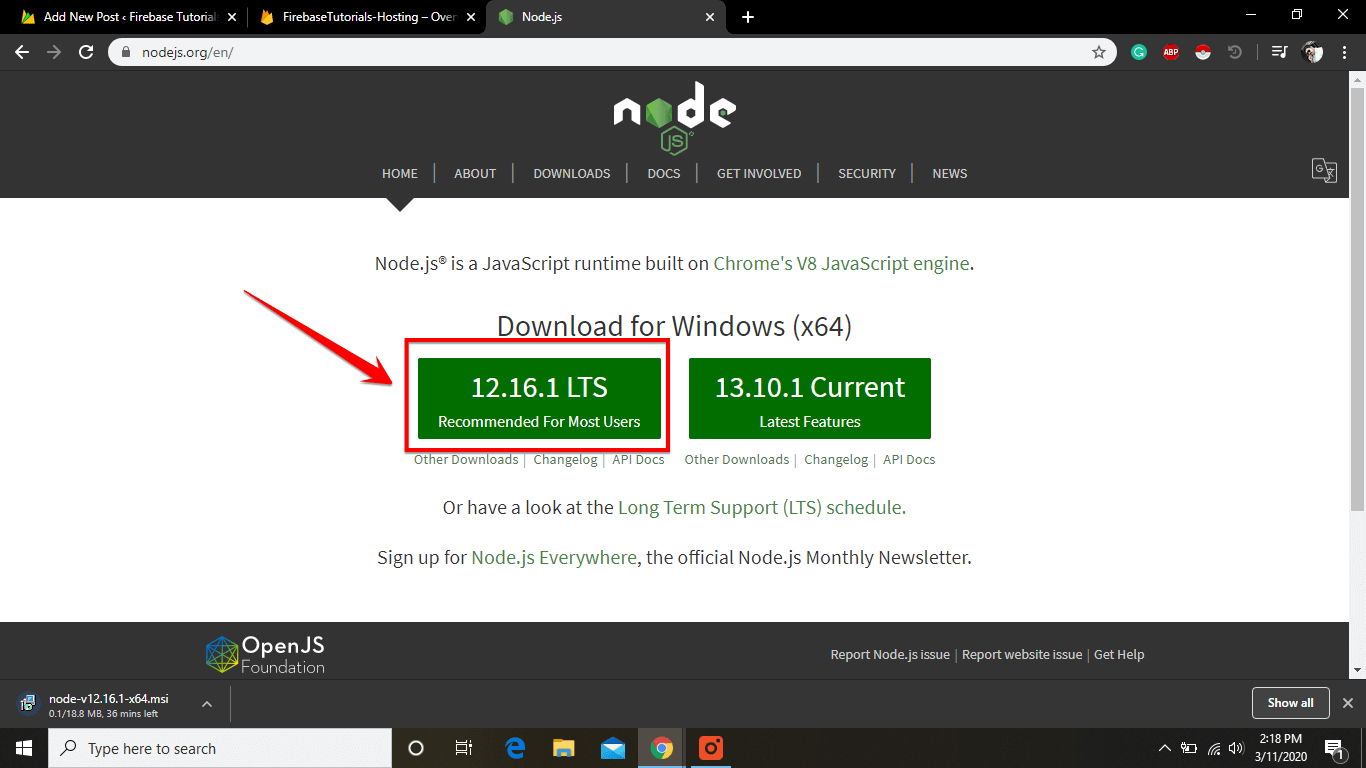
(a) Install NodeJs on your Computer
So the first thing is to go to nodejs.org and download if you don’t already have it.
Don’t be afraid. You don’t need to learn anything except downloading and installing.
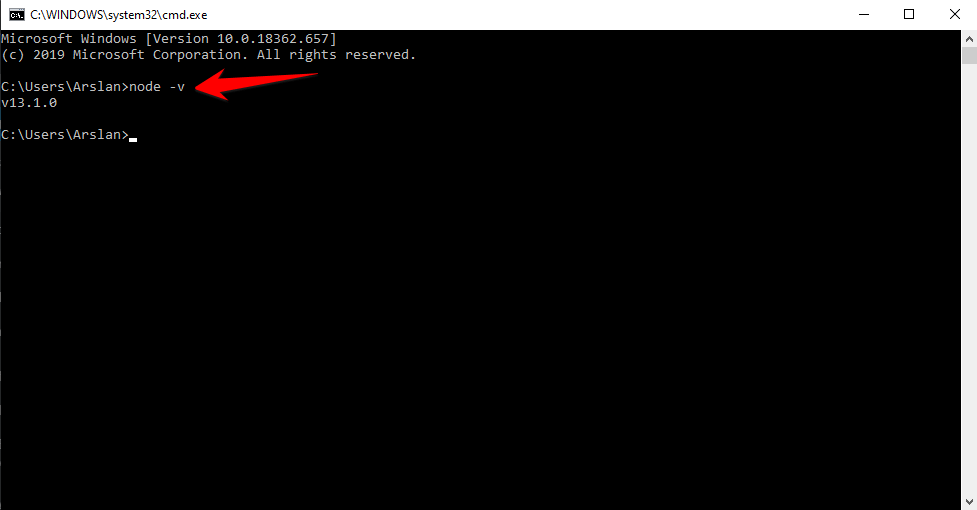
(b) Verify NodeJs installed or not:
And if you’re not sure whether you have Node installed or not you can check in the cmd prompt. Just type ”node -v” in cmd and that will give you the version number as shown in the image below.
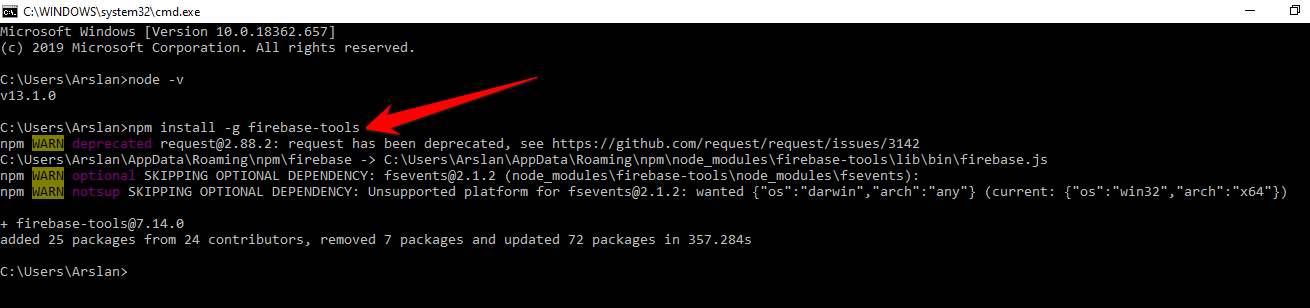
(c) Install Firebase Tools
So once you’ve installed Node on your computer.
Afterward, you need another tool to install Firebase Tools using NPM because when you install Node, NPM comes along with the ride.
You can use it to install different packages since “firebase-tools” is a package that you need to install on your computer locally so then you can use these tools to deploy your website to the backend.
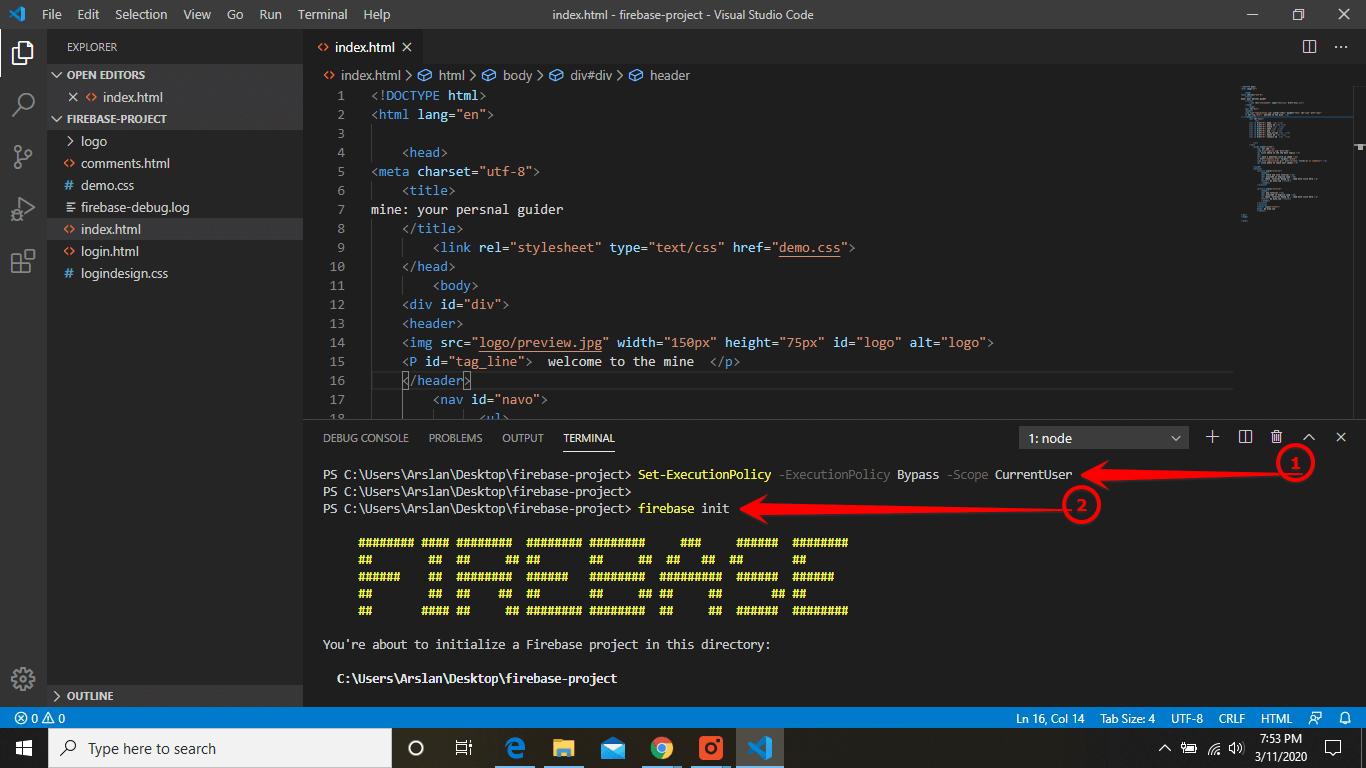
So you can say that ”npm install -g” meaning you are installing NPM globally on your computer then “firebase-tools” which is the package name. Now go to the cmd prompt and enter the below code.
Now, this is going to install the package on your computer for you.
(d) Check Version Number
Once the package is installed just to make sure everything is done perfectly. Just copy and paste below code and hit enter in cmd.
It’ll give you the Version Number.

Now you’ve Firebase Tools installed locally on your computer which you can use later in your application in the backend.
Now go back to the Firebase Console window and click on Next.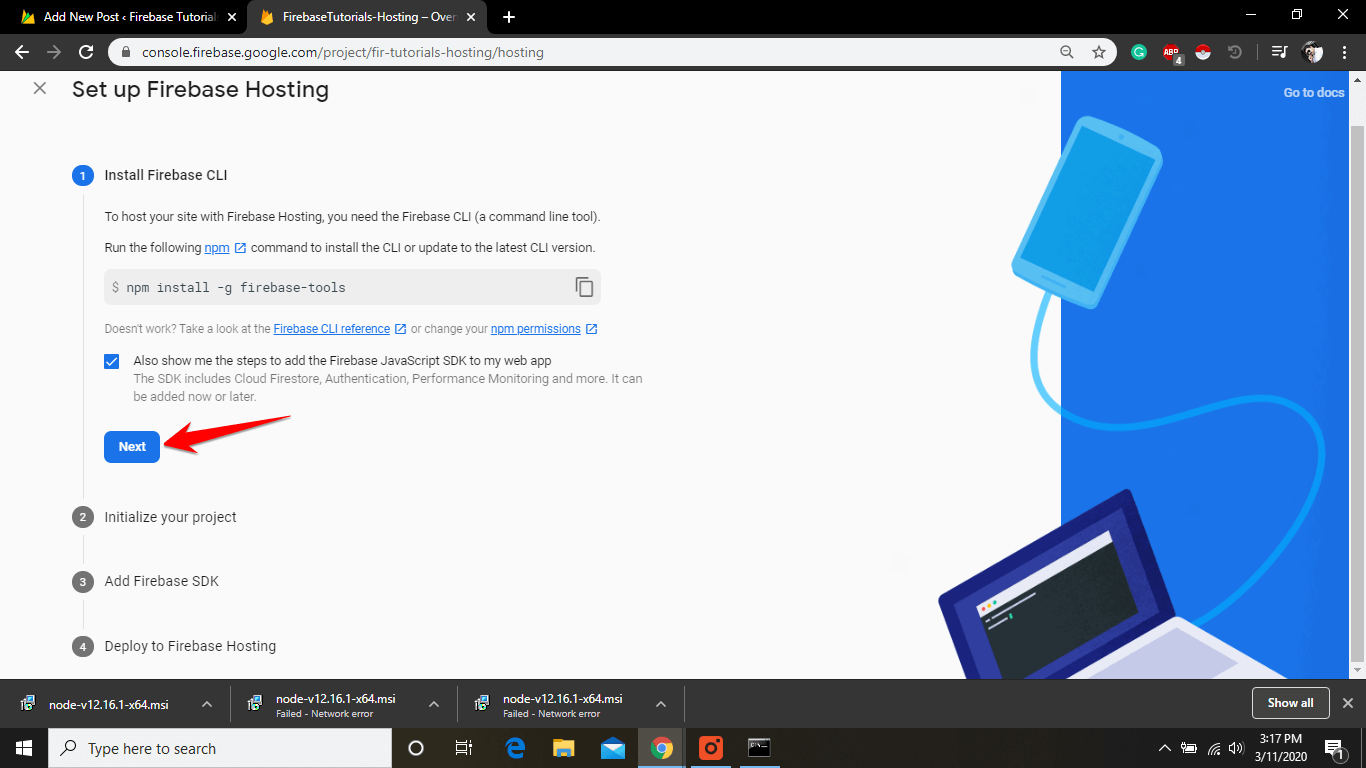
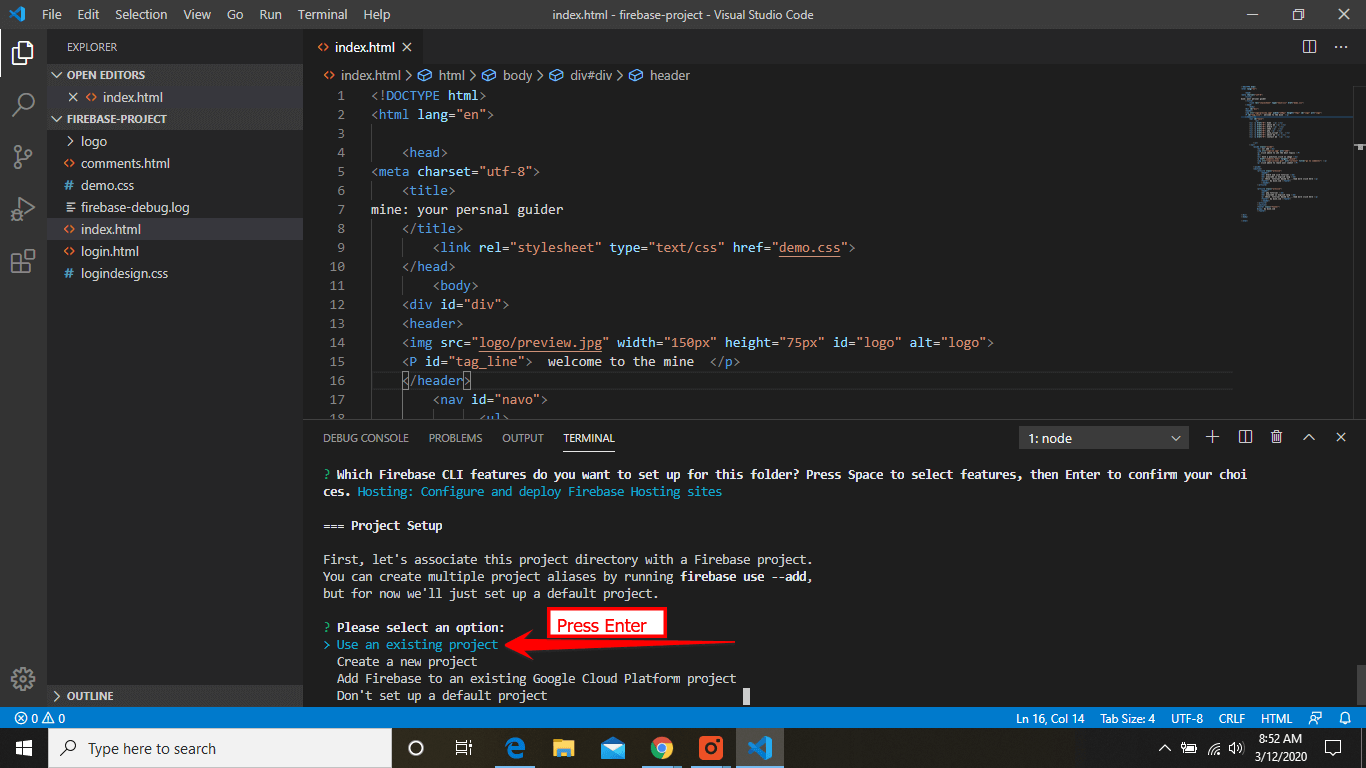
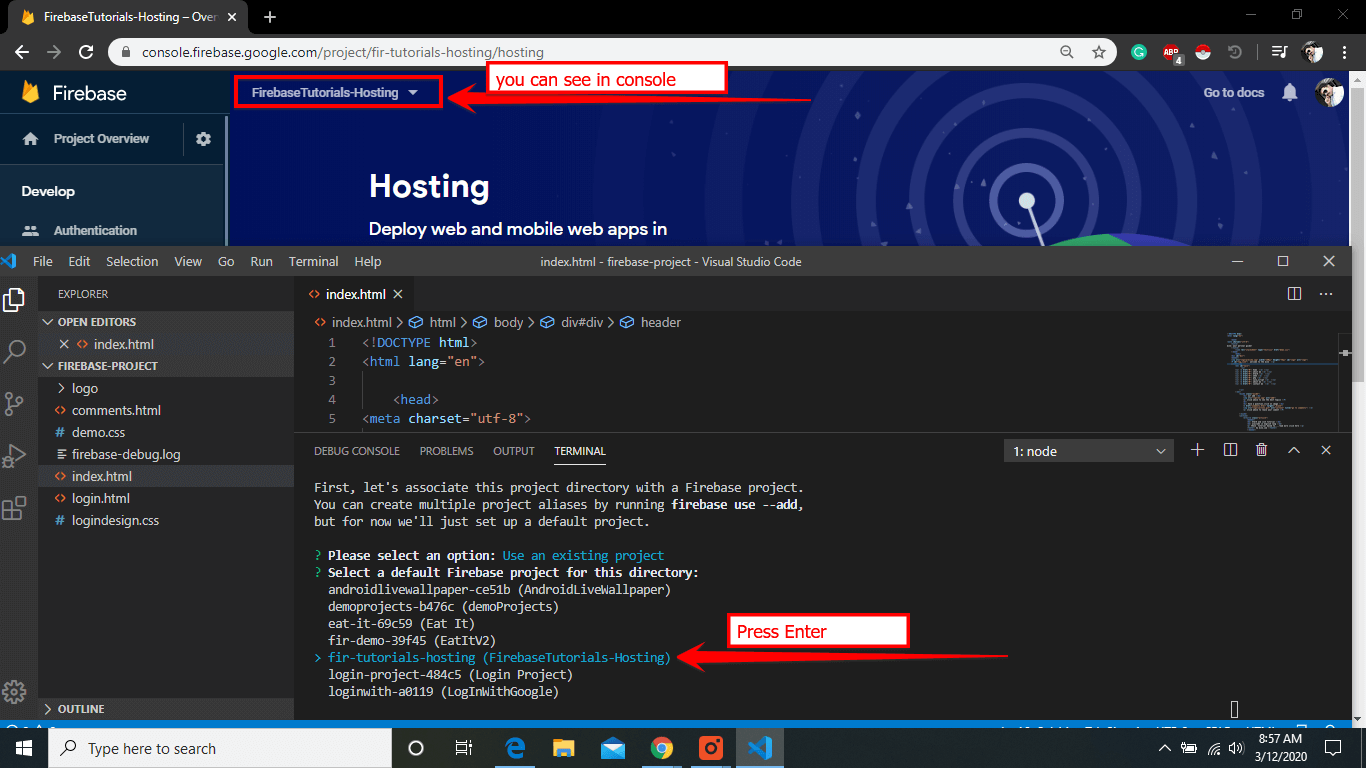
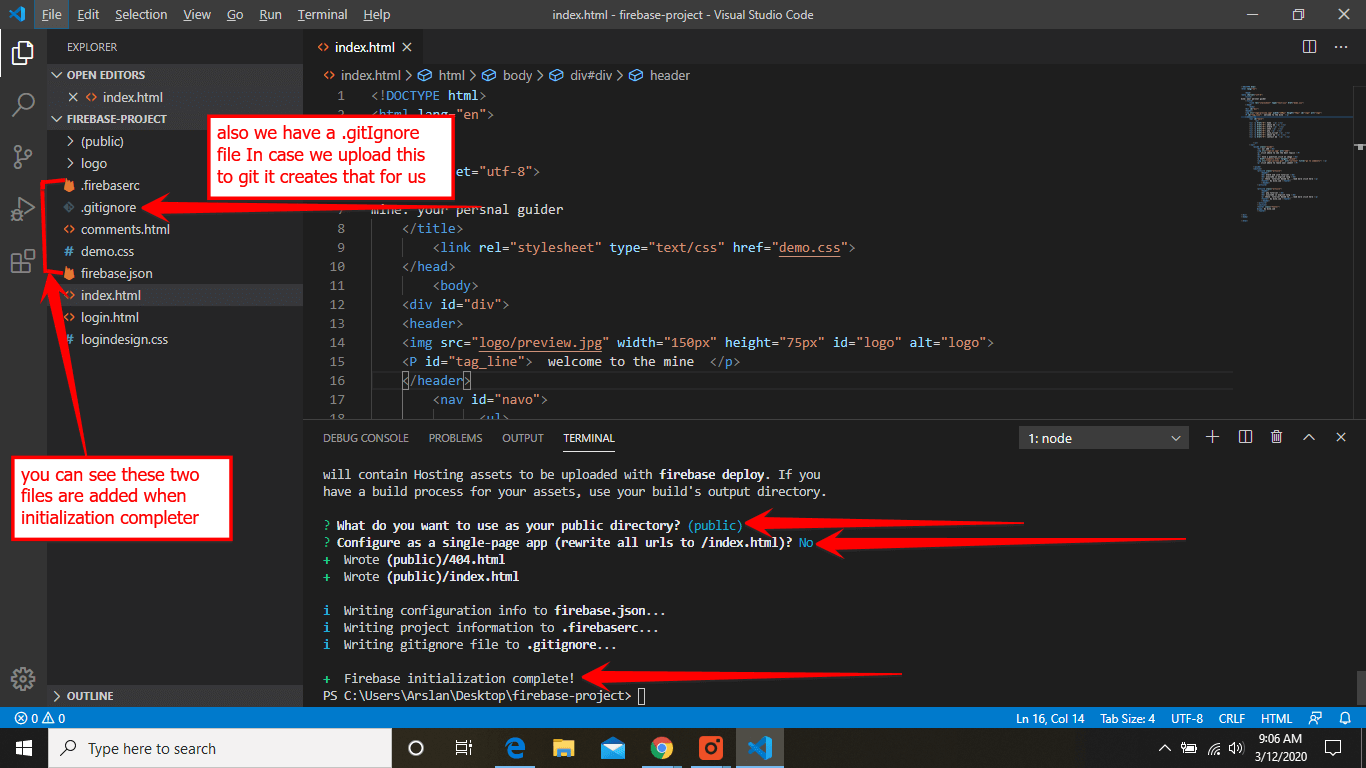
(ii) Initialize your project:
(a) SignIn To Google:
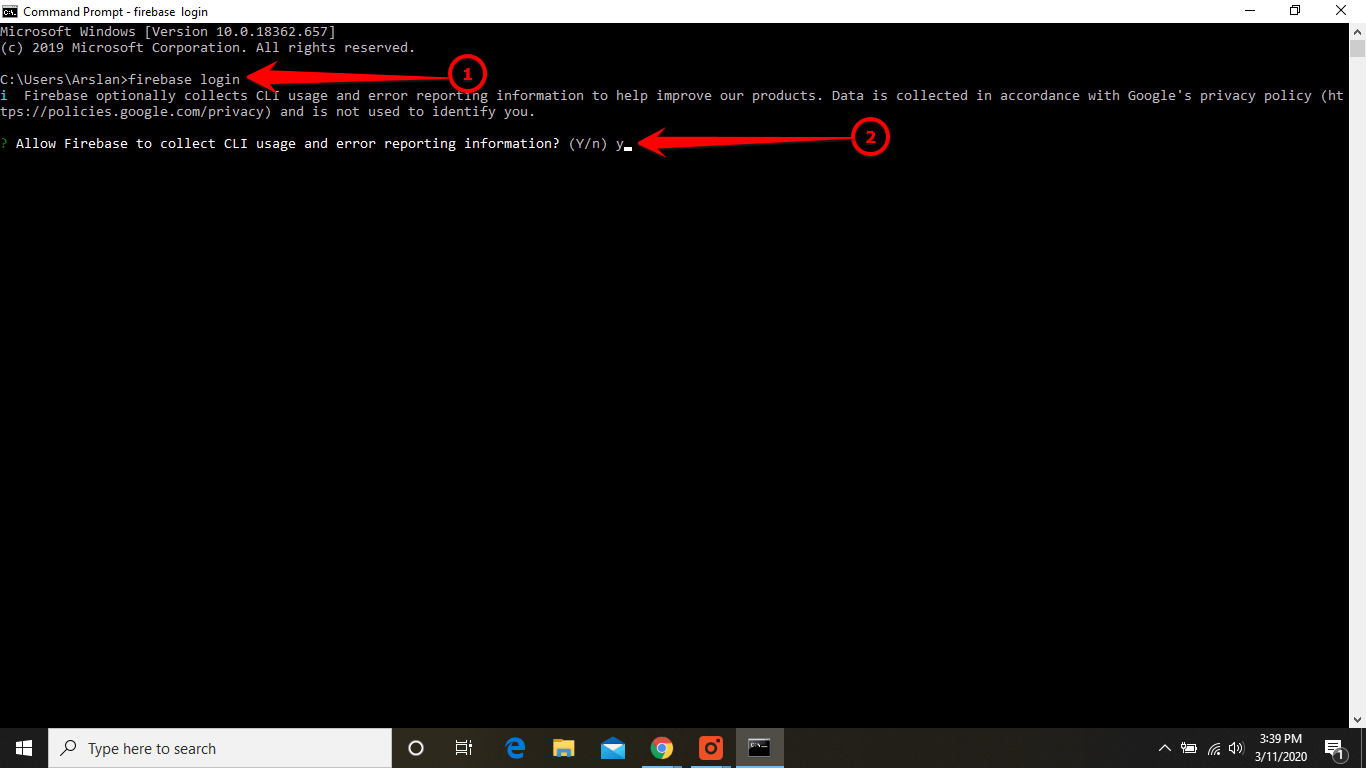
In the next step, you have to log in. So copy code.
And paste in the terminal window Then Enter y as shown in the image.
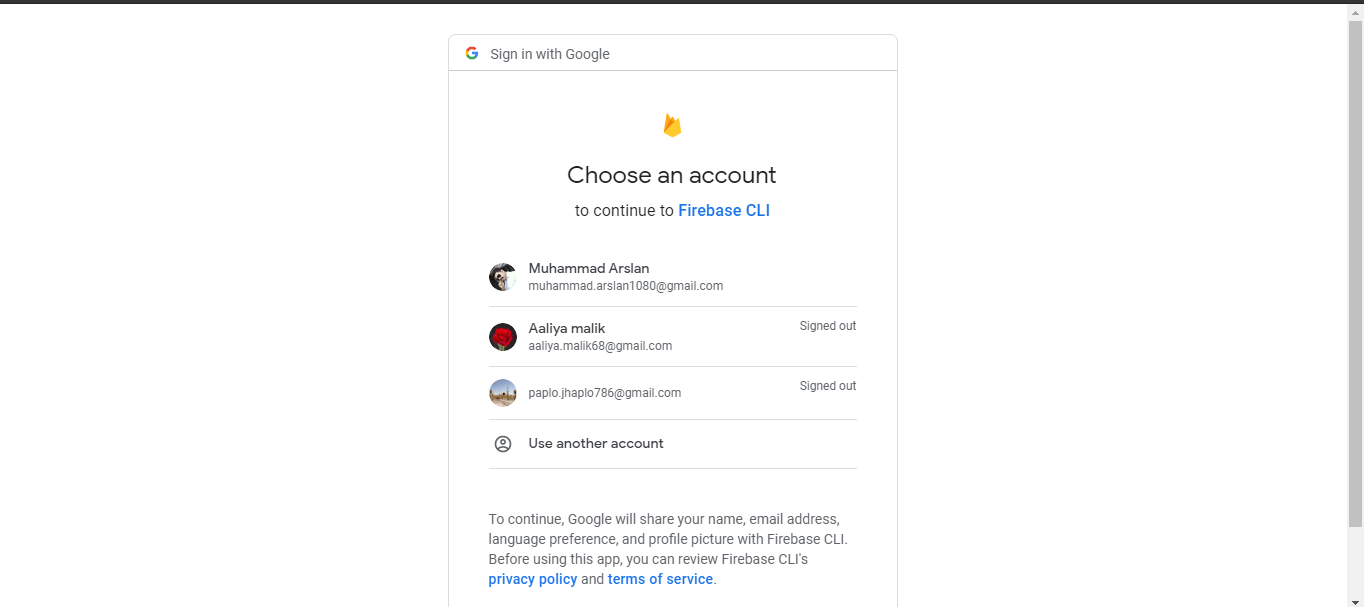
Then a window appears in the browser. You have to log in here.
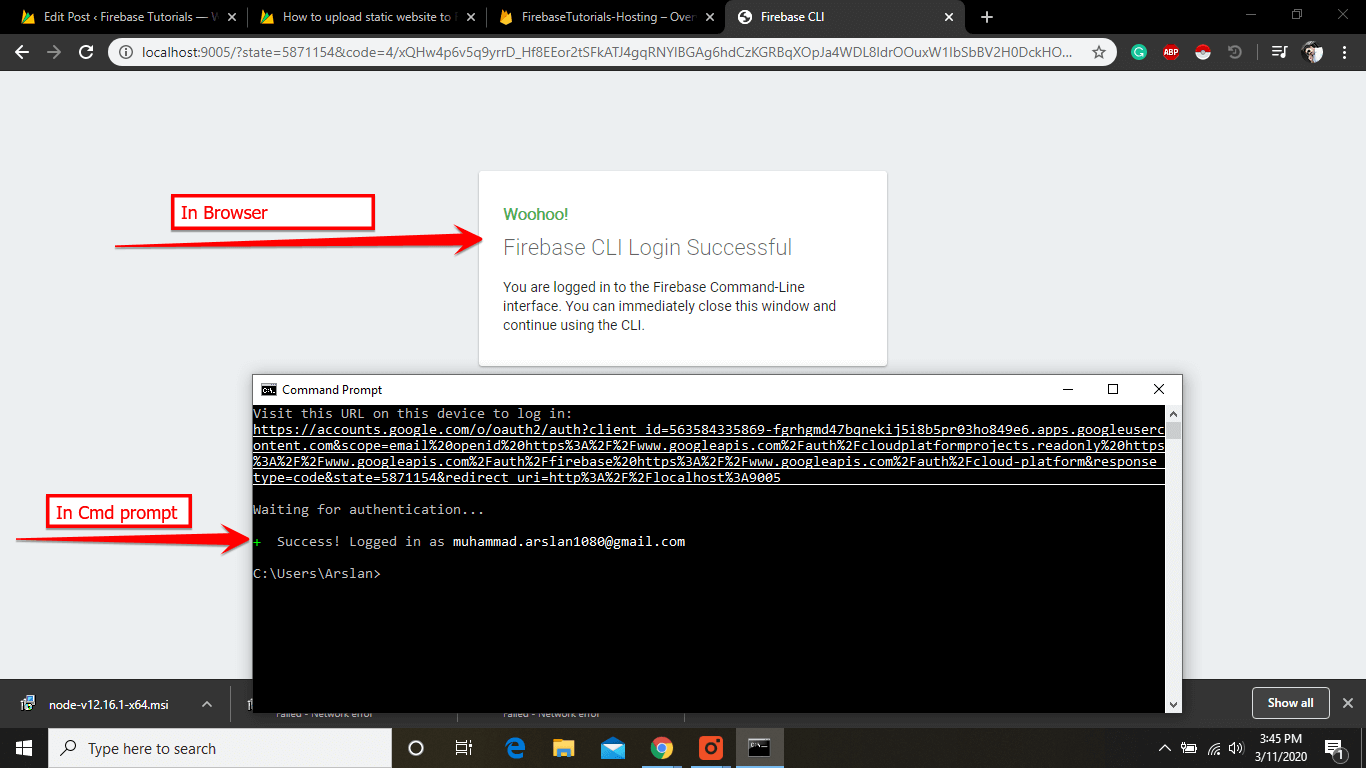
After login, you can see, you’ve logged in in the browser also in the cmd prompt.
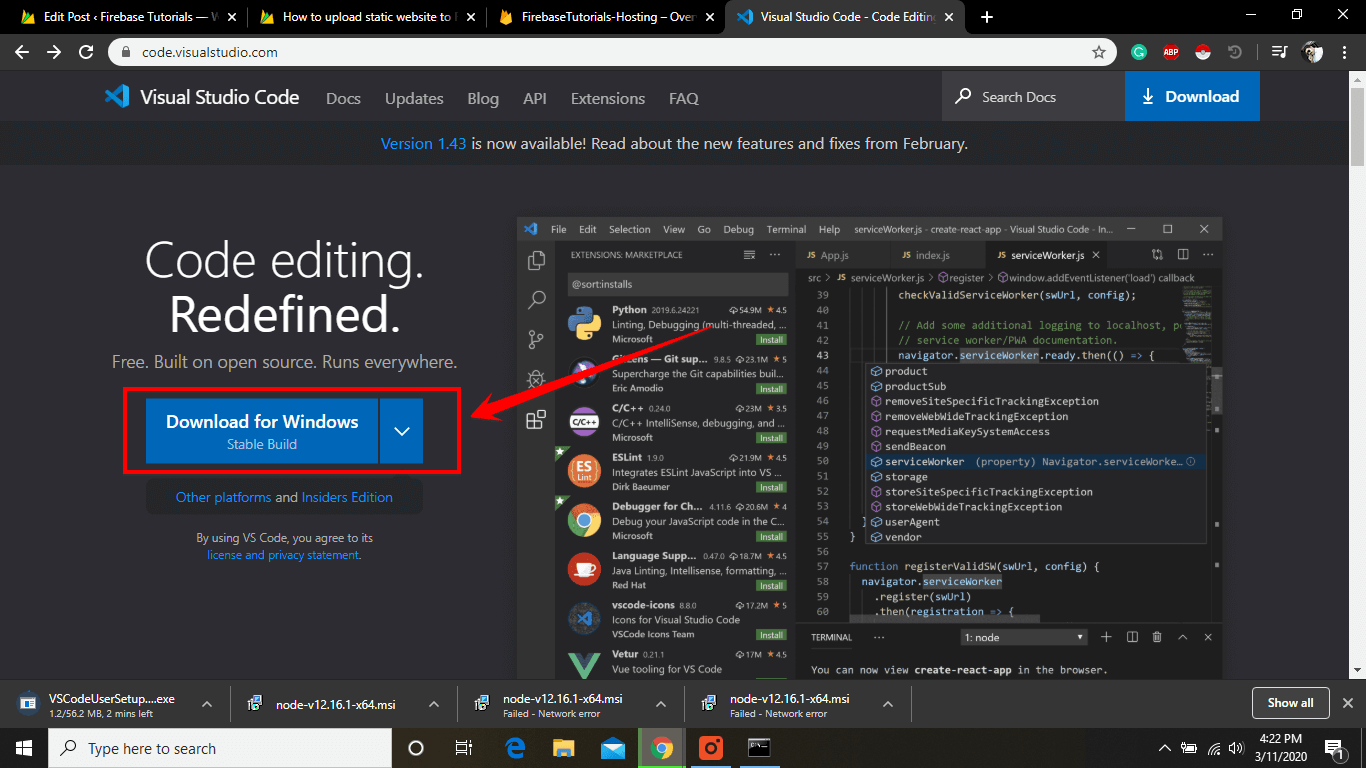
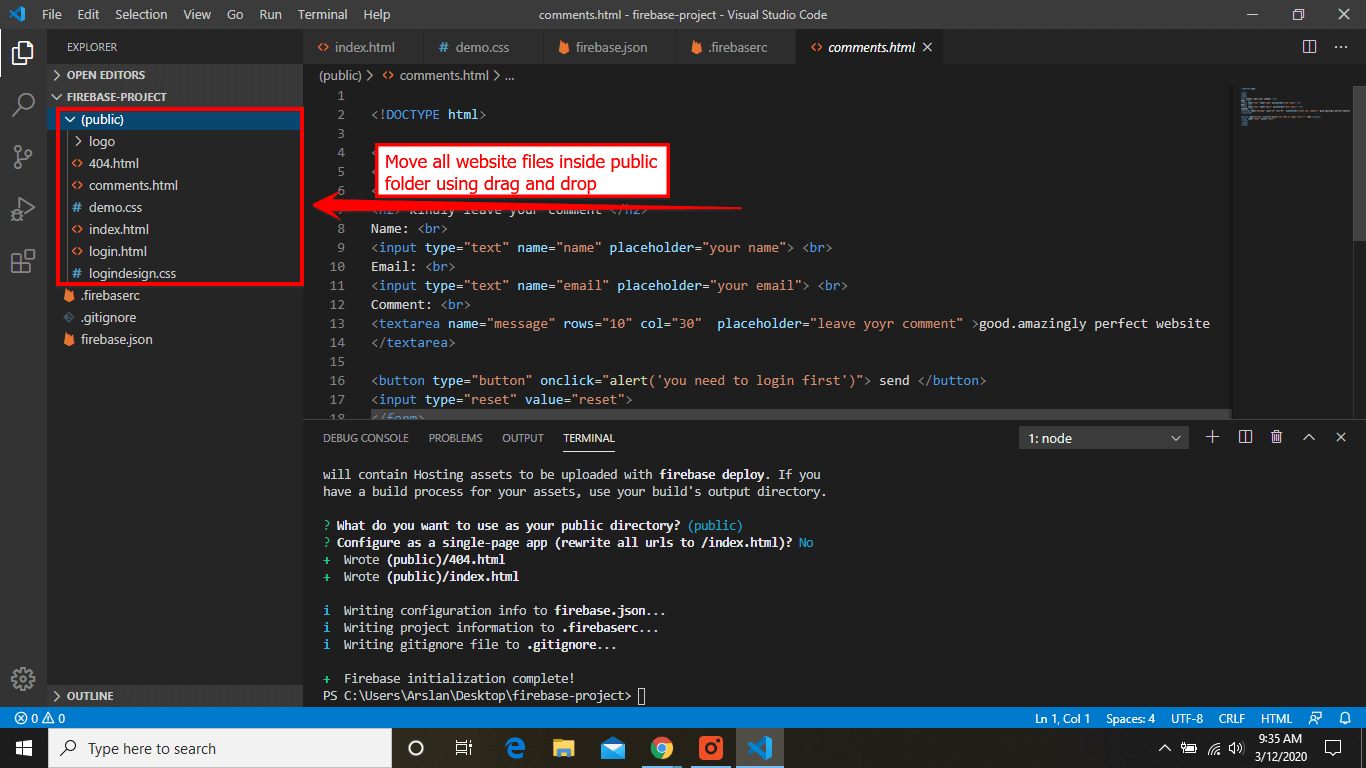
(b) Tip: Install Visual Studio Editor
I am using VisualStudio Editor for the initialization and deployment of the website. If you don’t have any Editor you can download from code.visualstudio.com and Install. It has become a favorite tool for many developers who need a modern editor.
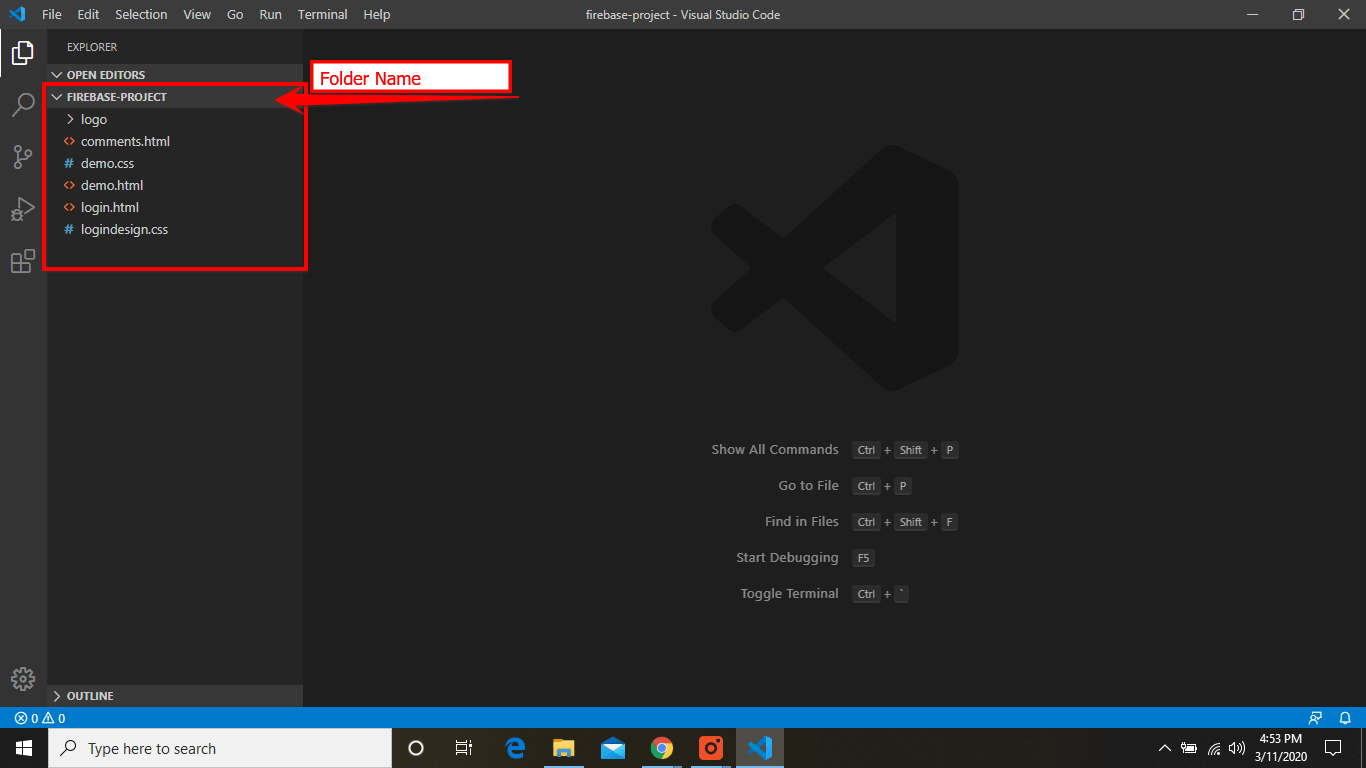
After installing the Visual Studio Editor darg the website folder on the Editor, so it looks like this.
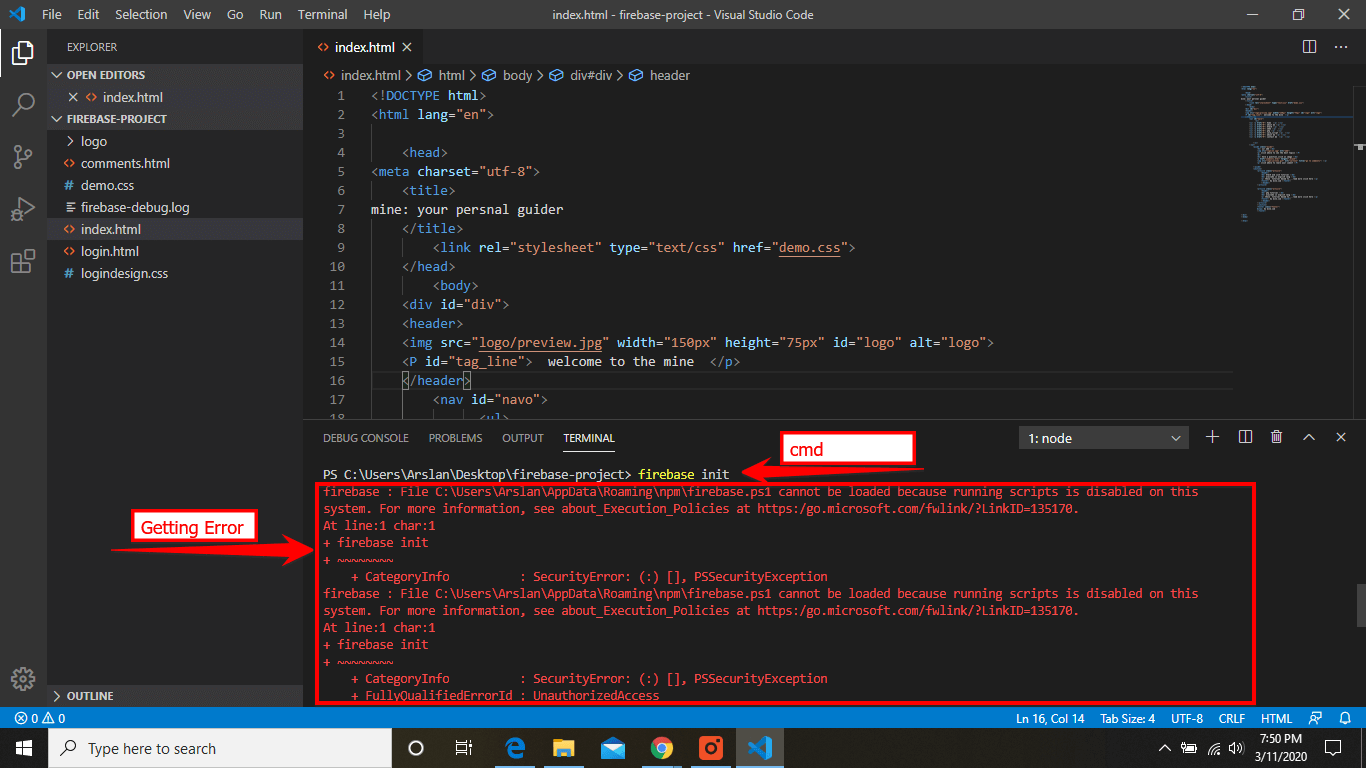
(c) Initiate your project:
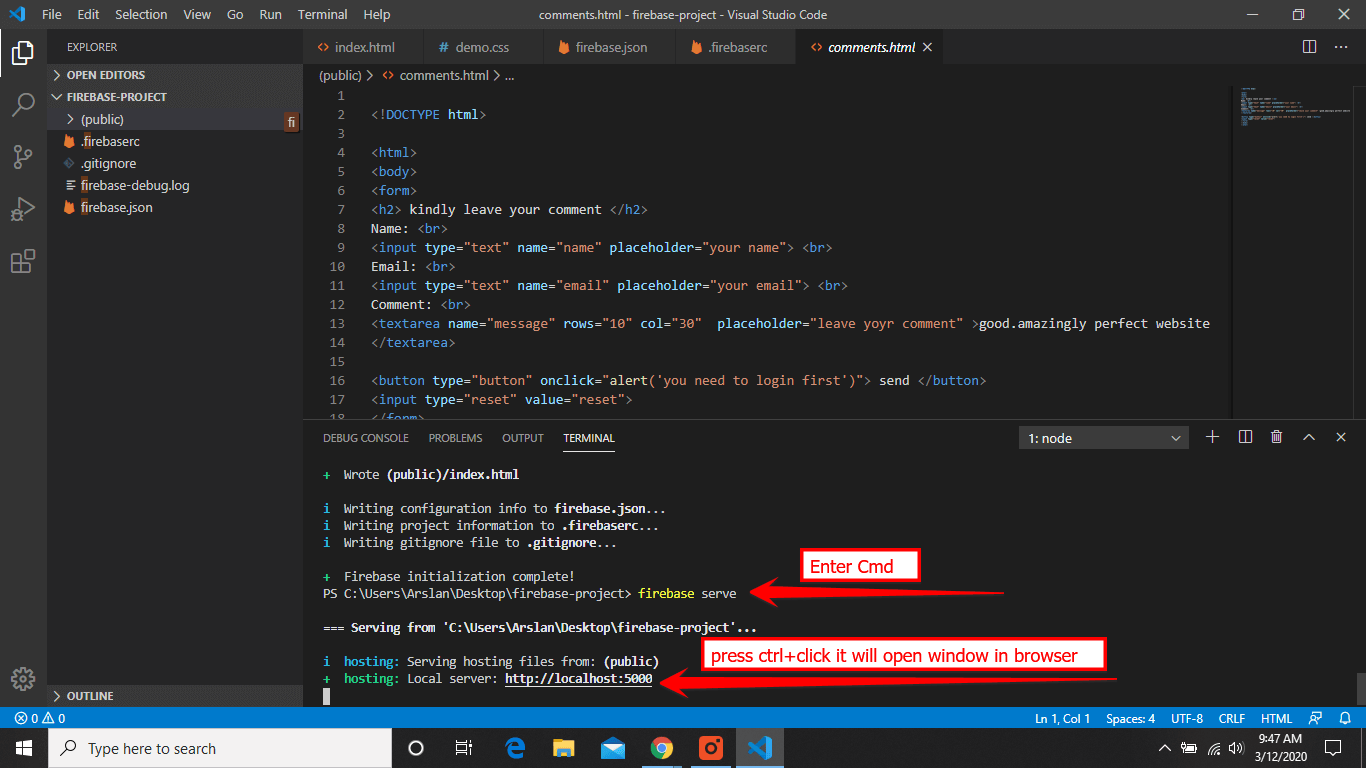
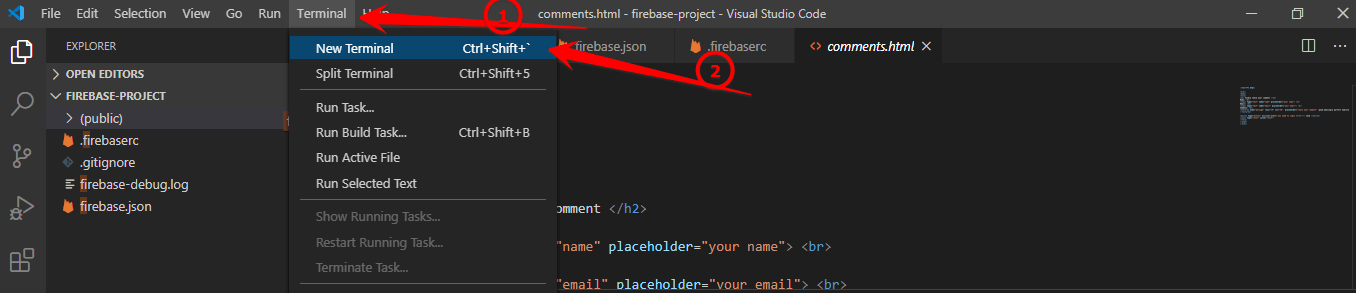
Click on View -> Terminal from the top menu bar.
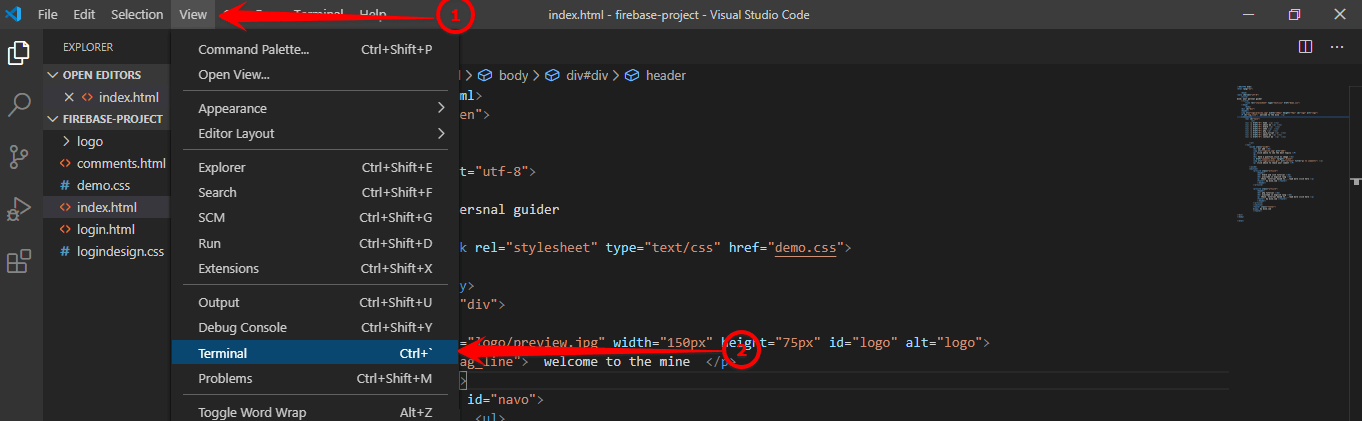
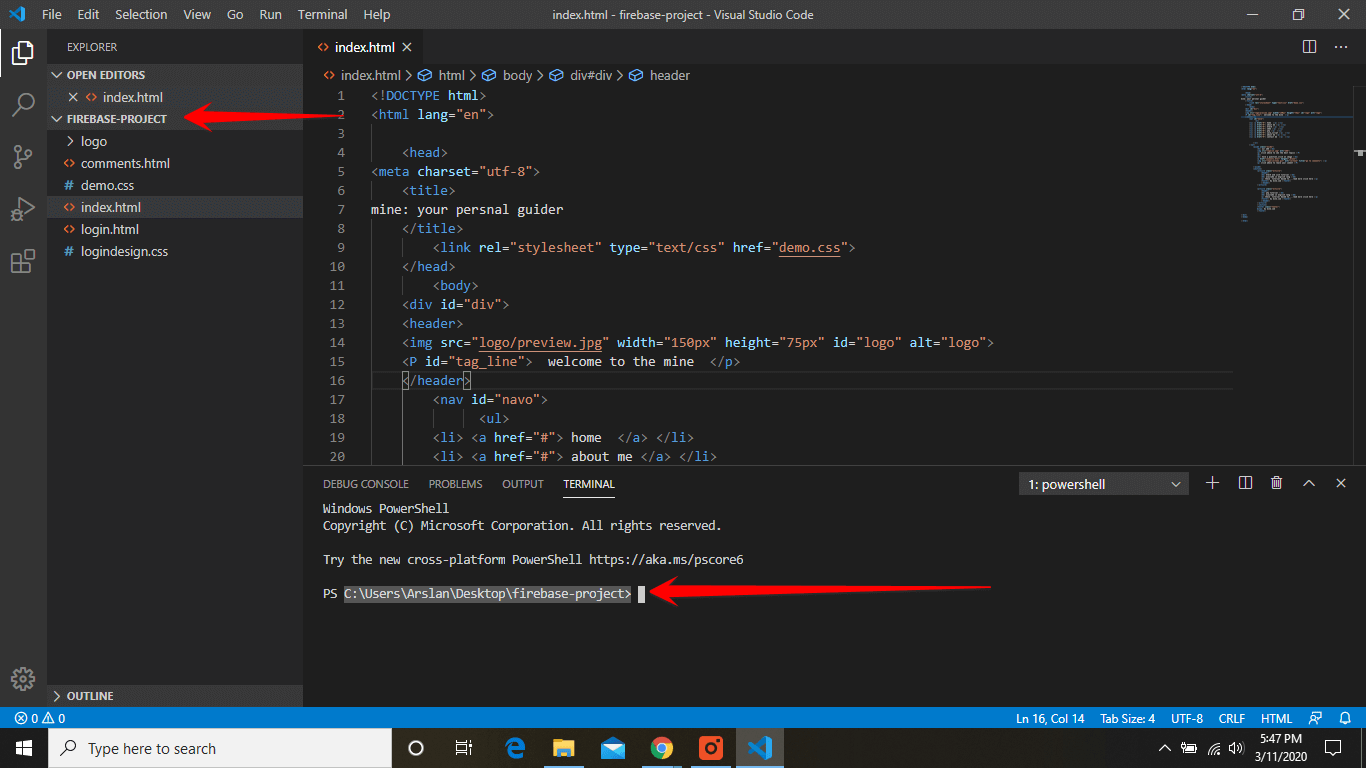
Then a terminal window appears. Make sure you are in the website folder.
Run this command from your app’s root directory:
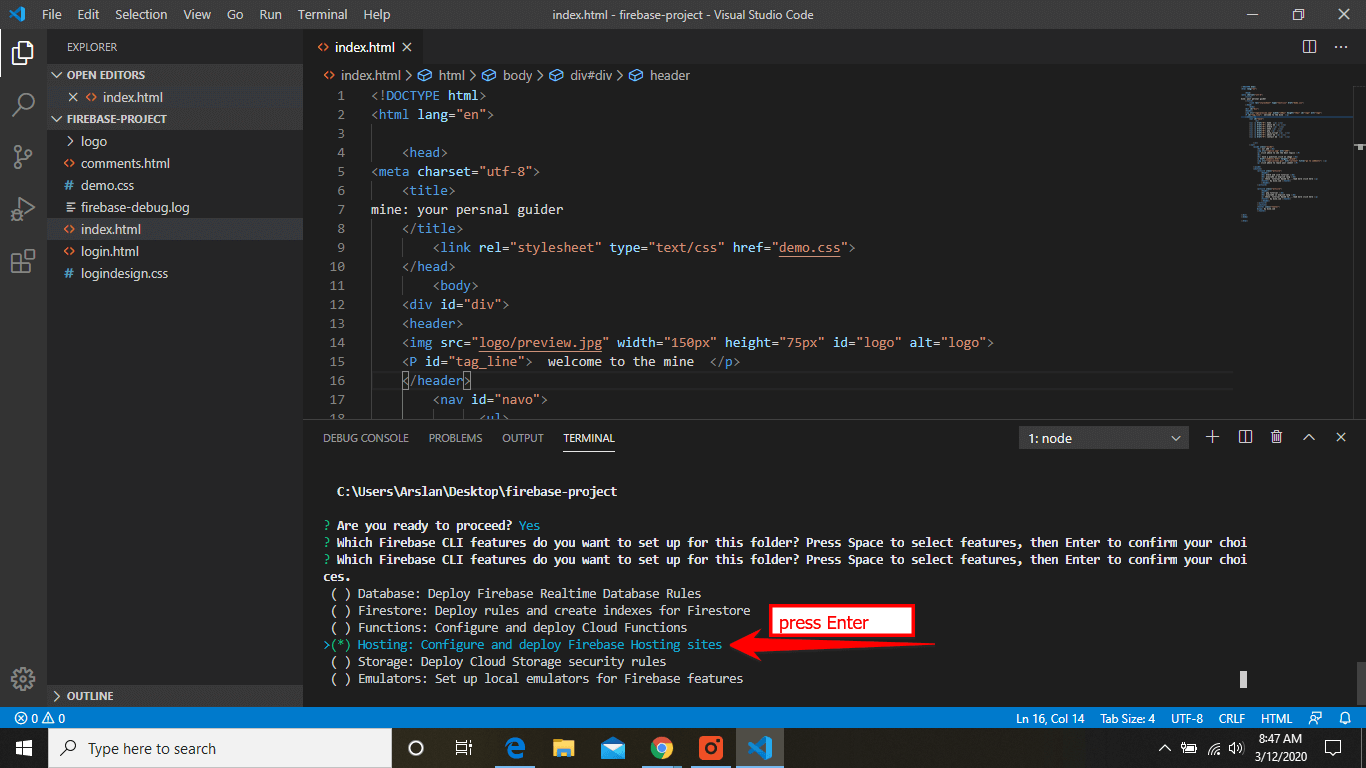
- 404.html: This is used when your website is down for some reason. you can manually change in the coding section if you want.
- index.html: This is a default index webpage. you don’t need to delete this.
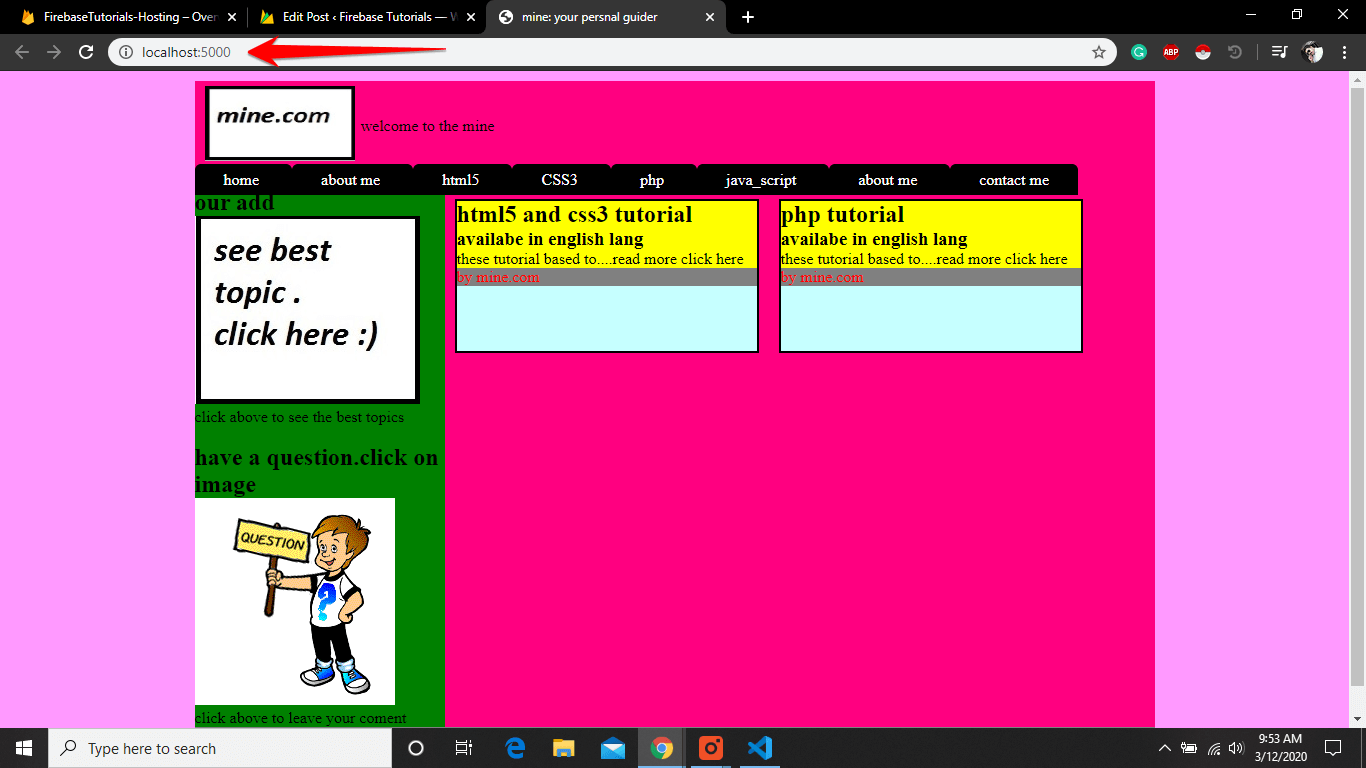
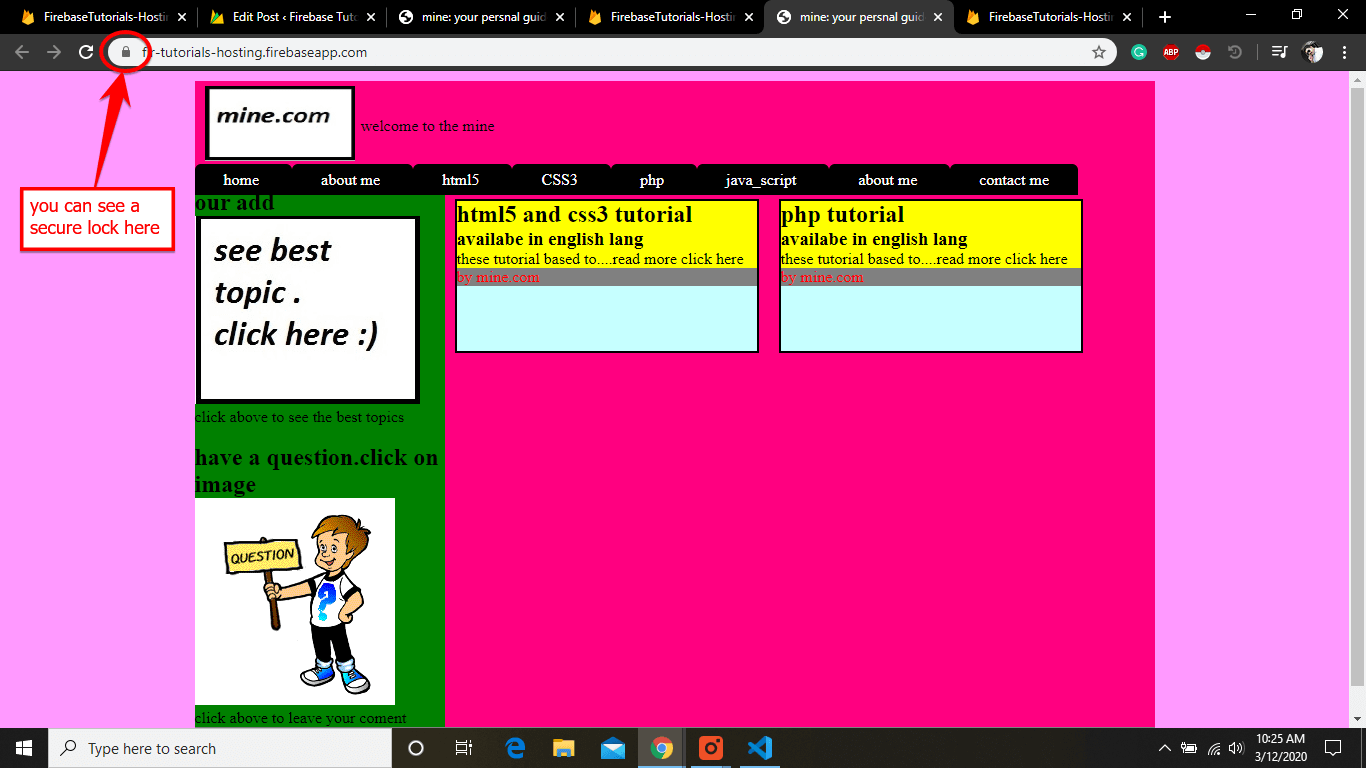
(iii) Check Project on Localhost
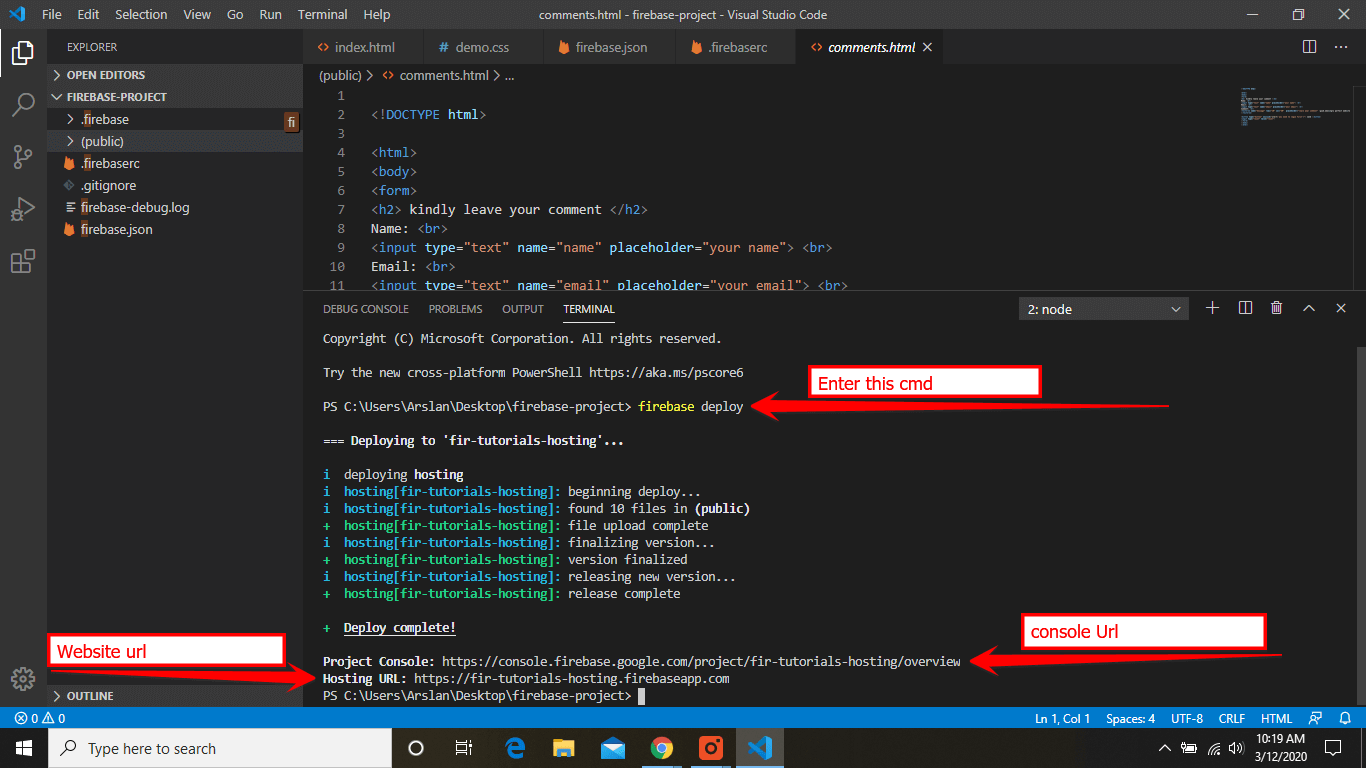
(iv) Deploy Project To Firebase Server


8 thoughts on “How to Upload a Static Website to Firebase Hosting (Tutorial)”
Comments are closed.